DIY Cake Stands
On A
Budget
These stands are absolutely
adorable and so quick and easy to make! All of the items you need can be
purchased at your local dollar store or thrift store. I decided to make two
mini stands and 1 large stand. I purchased three candle holders (2 small, 1 large),
one large dinner plate, and two small appetizer plates. I already had the paint
and hot glue gun so I didn’t have to buy those. The entire project cost less
than $10.00!
The two smaller candle
holders I just spray painted black to match the theme I was going for. You can
paint them any color you want. I left the larger one as is for now, but I may
go back and paint it another color later.
Once you have painted
the bases (which is completely optional) it’s time to glue them to your plates!
I recommend getting plates in whatever color you are wanting and not painting
those. If you can’t find what you want, and you do end up painting plates, just
always make sure that you are putting something between the painted plate and
your food.
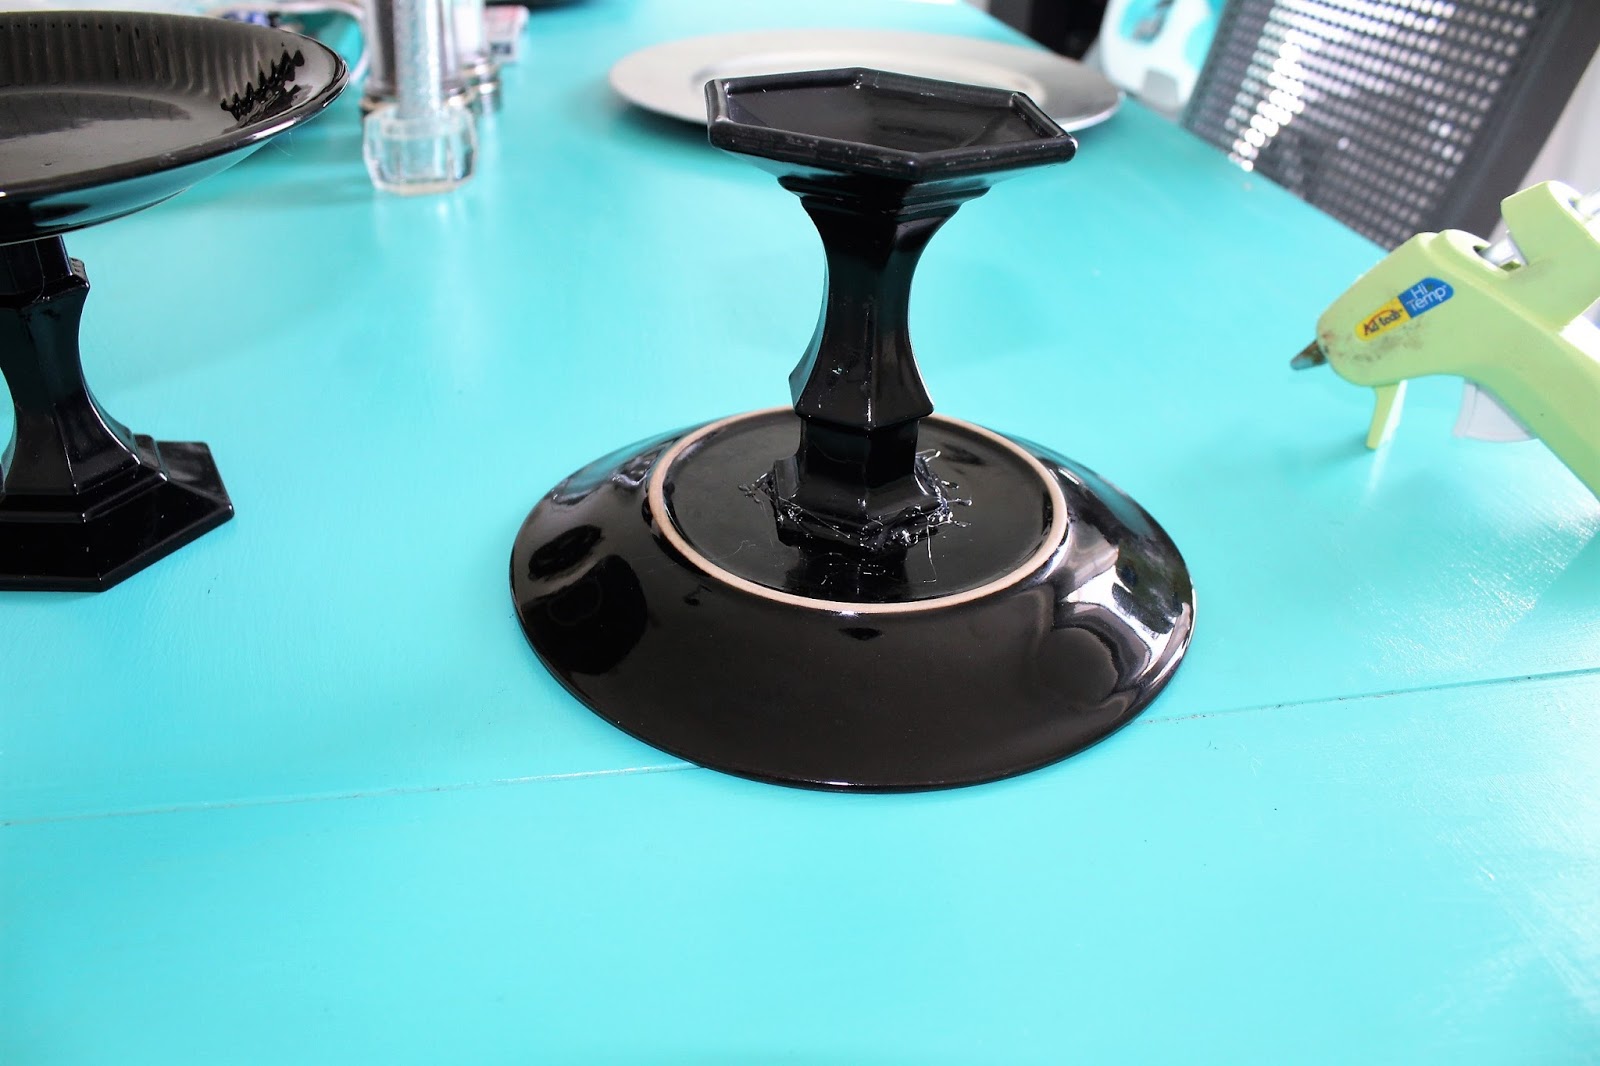
You do have to work
fast using the hot glue because it will dry quickly. I found that doing a dry
run first and marking the center point on the plate really helped when
attaching the two pieces. Place the plate upside down on the table. Put your
glue on the top of your candle holder and press it down on the plate. Once attached
run a bead of hot glue around the outer rim of the candle holder to help hold
it to the plate. Let dry for a few hours before using.
After it’s completed
dried you are ready to put it to good use! I have used them multiple times for
get togethers and I just love them! Three stands for under $10 you really can’t
beat it!
I
hope you enjoyed this DIY. If you give it a try; please post some photos of yours
in the comments! I’d love to see your personal take on these.